There’s nothing quite so annoying and uncomfortable as getting into your reliable old car on an especially hot day and finding that the air conditioning’s just not what it used to be. It’s easy to give up on it and assume that it would be too expensive or too difficult to fix, leaving you in a pretty bad place on hot days. Fortunately, getting the A/C up and running back to its comfortable old self isn’t all that hard. With an easy-to-find part and twenty minutes of tinkering, you can find yourself enjoying your drive time a whole lot more.
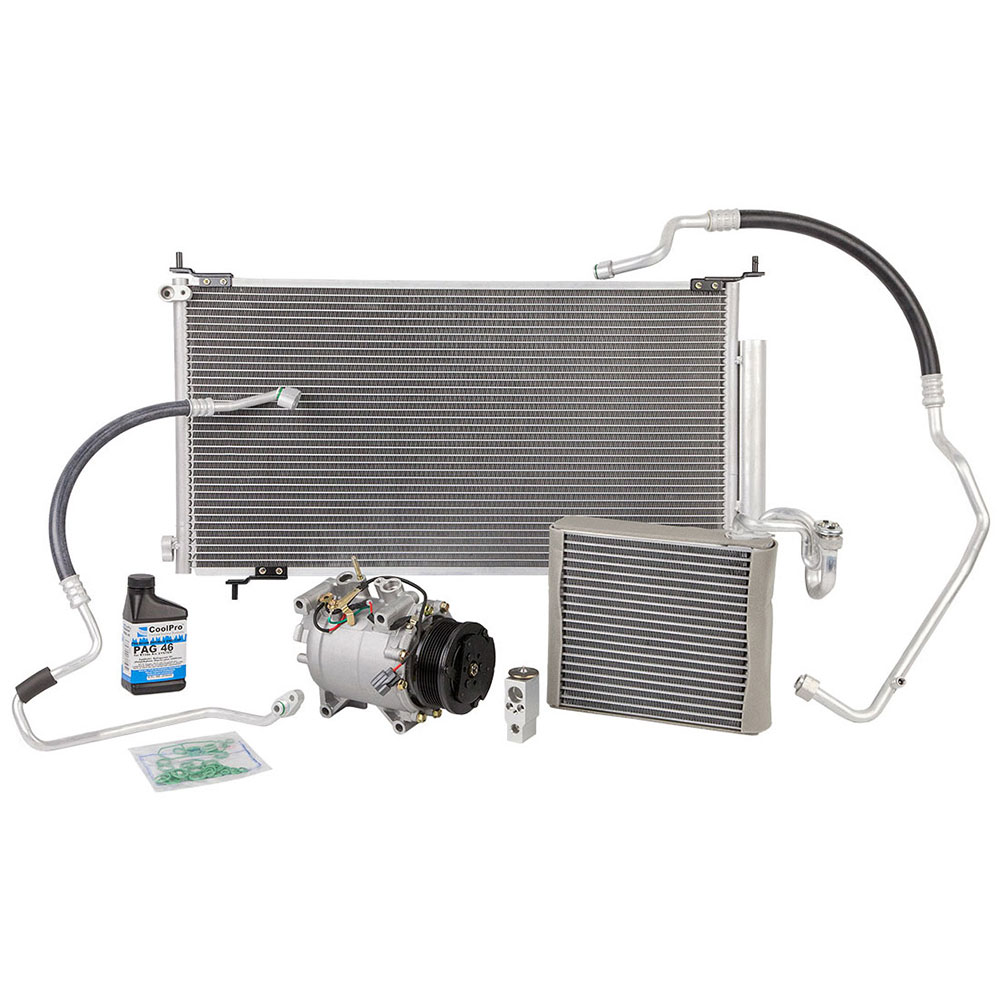
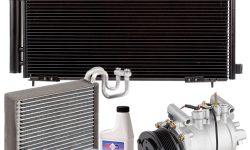
1. Find the right charge kit
This will be the trickiest part of the whole job, but fortunately, you can get the help you need from the experts at BuyAutoParts.com. Your car’s A/C system will require a specific type of refrigerant. Once you find the right refrigerant, you might want to spring for the kind with UV dye, which makes it a lot easier to track down leaks.
2. Pop the hood and get your bearings
What you’re looking for is the low side port of the car’s A/C system, which is connected to a large tube that’s hard to miss when you’re looking for it. It’s located between the compressor, which is mounted on top of the engine and running on a belt, and the evaporator, which looks like a large can. It’s not a bad idea to consult the car’s service manual to make sure you’re in the right place.
3. Connect the refrigerant to the A/C port
Your refrigerant should come with its own hose; connect it now. Then screw the nozzle of the hose into the low side port you’ve identified as belonging to the air conditioning unit’s coolant system. Pull and twist the port’s cap to connect them properly.
4. Determine the target pressure
You’ll need to know what pressure you’re looking to achieve before you get started. There should be a pressure chart that came with your refrigerant, and you’ll need to have it handy and consult it as the pressure rises. It will give you the exact figure that the gauge should read as a function of the ambient temperature. (At room temperature it’ll be around 35 psi; in the blazing summer heat it could rise as high as 55 psi.)
5. Start the engine and pour
Get the car started, crank up the A/C to maximum, and check the gauge. It should read 20 psi or higher and you should see the front of the compressor turning. If that’s not happening, dispense refrigerant until it does. Keep shaking the can every few seconds throughout the process. Once the desired pressure is reached, stop and check the system for leaks. (This is where the UV dye comes in handy.) Patch them if necessary, remove the can, and enjoy the breeze!
As always, the BAP product catalogue is exhaustively cross-referenced to make finding what you’re looking for as easy as possible, but don’t hesitate to reach out to our highly qualified customer service representatives for guidance when you need it!
Written by Dara Greaney