There are many reasons why the AC in your car can stop working properly. A common reason is due to low refrigerant. One of the simplest auto AC repair tests is to check for a refrigerant leak and refilling it. Your AC is a closed system, therefore the only reason the refrigerant would be low, is because of a leak. If you are up to it, we believe this is a project you can take on yourself.
Diagnosing the Problems
Before you go changing parts or refilling your refrigerant let’s take a look at a few symptoms of an AC system low on refrigerant.
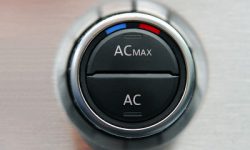
1. Your AC doesn’t get as cold as it used to. Do you ever feel like your AC just doesn’t do the job anymore? Turning your AC down to its coldest setting will still get the car cooler, but not cold enough. This happens because heat cannot be exchanged between the condenser coil and ambient air.
2. Cooler temperatures. This may seem a bit odd but when there is not enough refrigerant the cooling system can actually drop temperature and frost will start to build up on the coil. Irregularities are the easiest way to spot symptoms of low refrigerant.
3. Intermittent cooling. One of the more frustrating symptoms of low refrigerant is intermittent cooling. Often it decides to not work during the hottest commutes. This could be due to the system freezing but could also be for other reasons like a faulty temperature sensor.
Finding the Leak
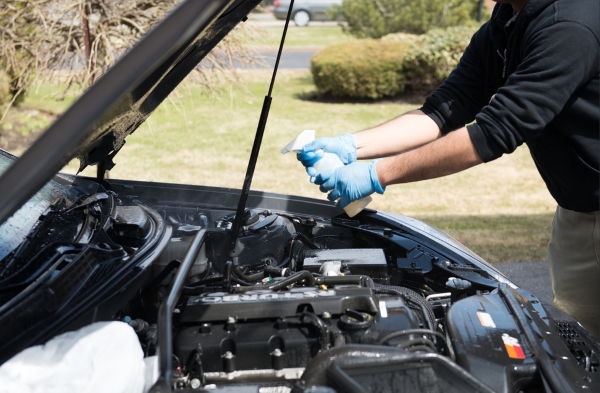
Before you add the refrigerant you’ll want to determine where the leak is coming from. If you don’t find the leak and fix it, you’ll be doing this project again in the near future. There are a few methods to find the leak. Grab a spray bottle, add a few drops of soap and fill it with water. Turn your car on with the AC up, spray some of the mixture onto the hoses and seals and look for bubbling. Often times it’s as simple as a bad hose or o-ring, which are fairly easy to replace.
If you have found your leak and determined it’s not due to an AC compressor failure. If it is, take a look at our guide for AC compressor replacement. If you know it’s not that, you’ll want to buy the needed refrigerant.
The easiest method is to buy a refrigerant leak kit. This comes with a fluorescent dye that you put into the AC system and can be easily spotted. Again turn your car on and bring the AC to full blast, watch for the fluorescent dye spurting out and pinpoint where the leak is coming from.
When it comes to auto AC repair, adding refrigerant is one of the easier things to do. All it takes is a little patience and the ability to follow a few instructions.
You can find refrigerant recharging canisters at your local auto parts stores, Walmart or Target. You’ll want to buy one with the pressure gauge attached or purchase a pressure gauge separately that you can use down the road. There are two types of refrigerant, r-12 and R-134a. If your car was built within the last 20 years, odds are that it runs on R-134a. If your car happens to use r-12 you’ll have to take it to a licensed mechanic that can handle this refrigerant legally.
Adding Refrigerant
1. With your refrigerant recharging kit, attach the hose and fitting to the low pressure side of your AC system. This is usually determined by a blue cap cover over the charging port.

2. Turn on your car and turn the AC on, check the gauge to make sure the car does need refrigerant.
3. Once you have determined you need refrigerant, with the car still on, open up the release valve, allowing the refrigerant to flow freely. Note: Do not let the refrigerant touch your skin, it will freeze on contact.
4. Continue to monitor the gauge until the pressure is at the appropriate level. On the gauge there will be a green area to indicate your system is fully charged.
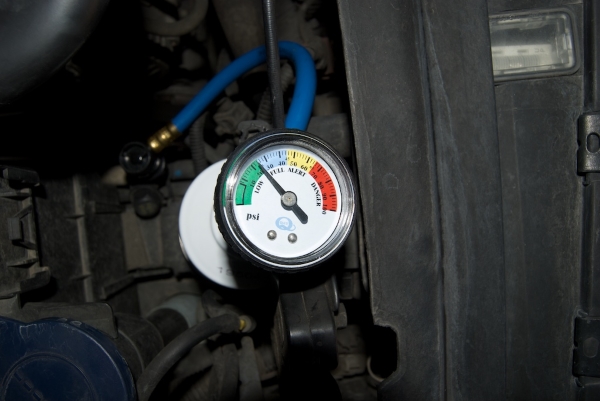
5. Remove the fitting from the recharging port and put the cap cover back on. Turn your car on and ensure your system cools down to appropriate temperatures. If you need a bit more visual help, take a look at this Wikihow on recharging your AC.
Lastly, enjoy your cold AC and bask in your accomplishment. You have completed your auto AC repair and can brag to your friends that you know how to do it on your own. Note: Friends and family might ask you to perform this on their cars.