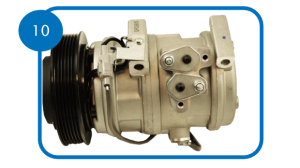
Replacing an AC compressor switch might sound tricky, but it's totally doable with the right know-how. Here’s a guide to help you out.
Understanding the AC Compressor Switch
Your AC compressor switch plays a crucial role in keeping your air conditioning system running smoothly. It controls the compressor, making sure it engages and disengages at the right times to maintain optimal pressure. If your switch is faulty, it can lead to system failure or inefficient cooling.
There are different types of AC Switches. Click here to read about all the different types.
Signs You Need to Replace Your AC Compressor Switch
AC Not Cooling Properly: If your AC isn’t blowing cold air, a bad compressor switch could be the culprit.
Compressor Not Engaging: If you notice the compressor isn’t kicking in, it might be time to replace the switch.
Erratic System Behavior: If your AC system is cycling on and off too frequently, a faulty switch might be to blame.
Removing the Old AC Compressor Switch
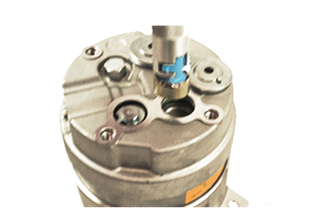
Release the Pressure: Loosen the manifold plate to release the pressure. (Always wear safety glasses!)
Remove the Snap Ring: Squeeze the snap ring holding the plug in place.
Remove the Plug: Gently squeeze the snap ring and pull up and out to remove it. (Caution: The snap ring may fly off due to tension.)
Pry Up the Plug: Use a tool to pry up and remove the plug.
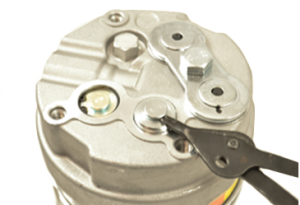
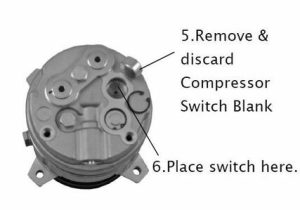
Discard the Old Switch: Remove and discard the old compressor switch.
Installing a New AC Compressor Switch
Tools Needed: Snap ring pliers, safety glasses, switch puller tool.
Release the Pressure: Loosen the manifold plate to release the pressure. (Always wear safety glasses!)
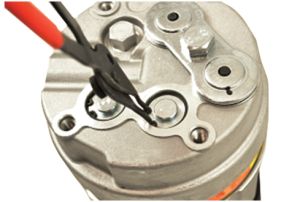
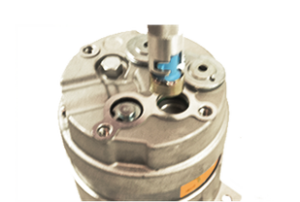
Prepare the Switch: Insert the new switch into the switch installation tool.
Insert the Switch: Place the switch into the switch port and press firmly.
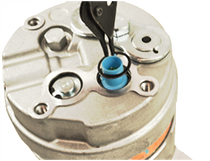
Secure the Switch: Insert the snap ring and press around the edges to ensure it seats correctly into the switch port. (Be careful when installing the snap ring.)
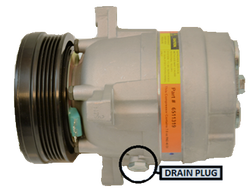
Check the Oil: Always check the compressor label for the correct amount of oil. Use the drain plug on the side of the compressor to verify the oil level.
For high-quality replacement parts and expert advice, visit BuyAutoParts.com. We’ve got everything you need to keep your car's AC system in top shape.
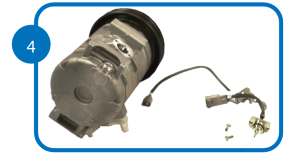
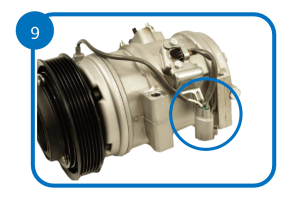
Removing a Bottom Speed Sensor Switch
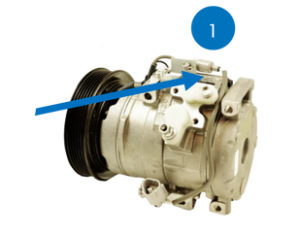
Locate wiring harness on compressor that came off vehicle. Disconnect/ unplug wire going to clutch.
Locate Switch on bottom of the compressor that came off the vehicle.
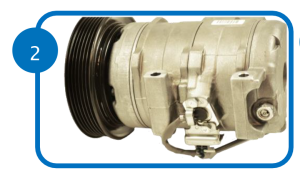
Remove 2 x 7 mm bolts on switch
Remove switch from compressor that came off the vehicle.
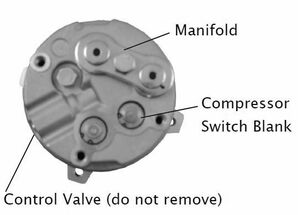
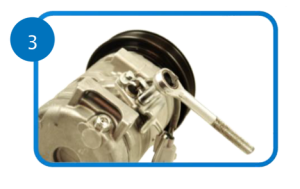
Locate switch cover on bottom of gpd compressor. Slightly loosen the discharge port on the gpd compressor to release any pressure before removing the switch plate and blank. Retighten the port cover to insure no oil is lost from compressor.
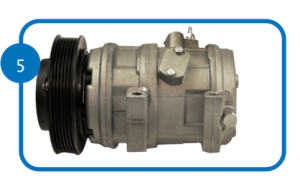
Remove cover with 2 x 7mm bolts
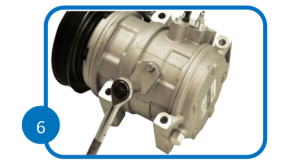
Remove blank cover inside
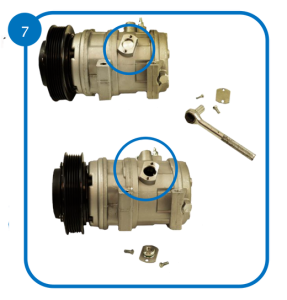
Installing a Bottom Speed Sensor Switch
Place switch inside gpd compressor and tighten 2 x 7mm bolts.
Place electrical connector on bracket.
Connect switch electrical connector to gpd compressor.