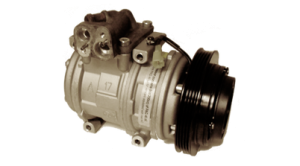
What is a Car AC Compressor Manifold on Top of the AC Compressor?
A car AC compressor manifold, sitting on top of the AC compressor, is a key part of your vehicle's air conditioning system. It acts as the main hub where the refrigerant lines connect to the compressor, managing the flow of refrigerant in and out. The manifold usually has ports for both high-pressure and low-pressure sides, making it easier to attach service hoses during maintenance or repairs.
Step-by-Step Guide to Remove and Install a Compressor Manifold
STEP 1: Evacuate and Prepare First, evacuate your vehicle’s air conditioning system and remove the lines. Take out the compressor and locate the manifold on the old compressor, which is usually secured by four 8mm hex bolts. Note the orientation of the manifold on the compressor. Clean around the manifold to remove any excess dirt before removing the bolts.
STEP 2: Remove the Old Manifold Carefully remove the four 8mm bolts, as the compressor might still be under pressure. Take off the manifold from the old compressor, being cautious not to let any dirt get inside. If needed, clean the area to keep dirt out.
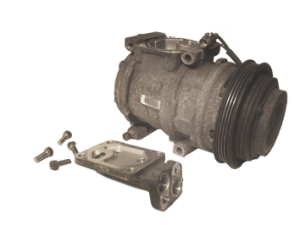
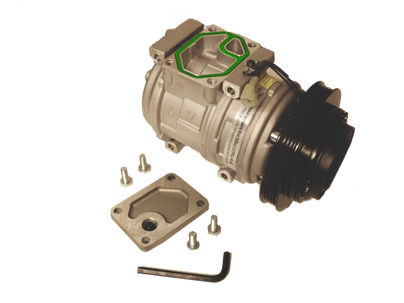
STEP 3: Prep the New Compressor Position the new compressor the same way as the old one. Locate the shipping plate on top and undo the four 8mm hex bolts. Be cautious, as BuyAutoParts.com compressors are tested and might be under pressure.
STEP 4: Expose the Compressor Center Remove the shipping plate to expose the center of the compressor, ensuring no dirt gets inside or the compressor gets knocked over. BuyAutoParts.com compressors come with the correct amount of oil for your vehicle's AC system.
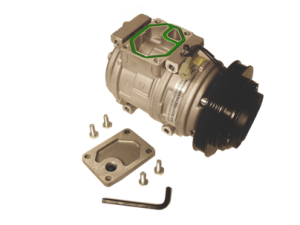
STEP 5: Remove the Old Gasket Use an O-ring pick to remove the manifold gasket under the shipping plate.
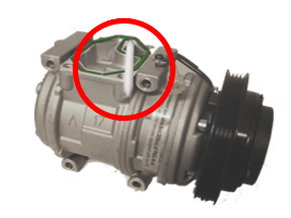
STEP 6: Install the New Gasket If you purchased a BuyAutoParts.com compressor kit, it includes a rapid seal O-ring kit. Locate the new manifold gasket and place it on the compressor where the old one was.

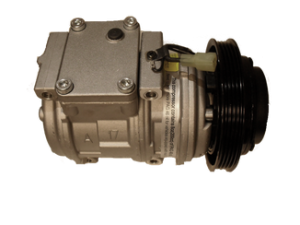
STEP 7: Attach the Manifold Place the old manifold onto your new compressor and tighten it. Make sure the manifold is oriented correctly, as installing it backwards will affect the compressor's performance. Ensure the manifold is positioned the same way it was on the old compressor.