Step By Step Guide
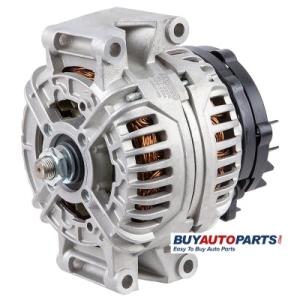
The alternator supplies power to the vehicle’s electrical needs. Therefore, knowing how to remove and replace an alternator is very important for all of you do-it-yourselfers. Plus, the huge benefit of saving a bunch of money is always nice too.
Step 1
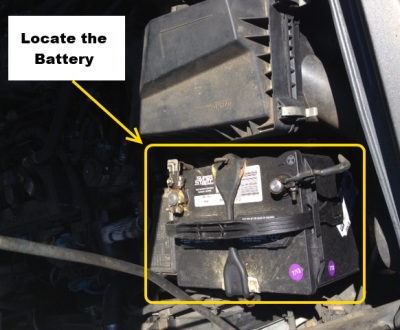
Locate the battery and disconnect the battery cables. If you don’t do this you could end up grounding a live wire and this is not a problem you want.

Step 2
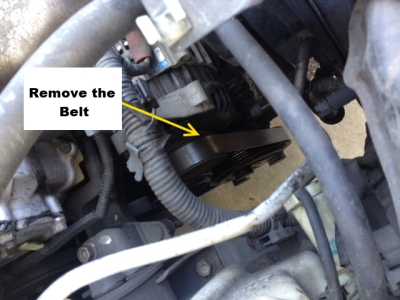
Locate the alternator. You will need a serpentine belt tool to remove the belt off the pulley of the alternator. Do this carefully as you could damage the belt.


Step 3
There will be about 2-4 bolts depending on your make and model holding your alternator in place. You must remove these bolts with a socket and a ratchet.
Step 4
After the bolts are removed, pull out the alternator carefully. There might be nuts remaining for any of the electrical connections, be sure to remove these by unplugging them.

Step 5
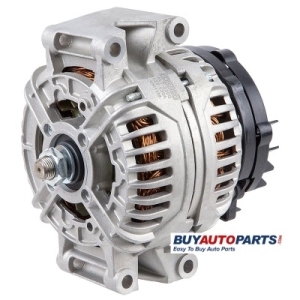
Buy your new Alternator from BuyAutoParts.com. Get started HERE.
Step 6
You will reverse the process to install your new alternator. First, plug in the nuts for the electrical connections. Re-insert the bolts you removed with the socket and ratchet to bolt the alternator back into place. Use the serpentine belt tool to carefully put the belt back on the alternator pulley. Re-connect the positive battery cable.
Step 7
Start your car to make sure the new alternator is in fact charging. If you have any questions or concerns feel free to give our friendly customer service team a call: 1-800-241-3197


